使用Clion调试Android native源码

一、Clion配置

1.编写CMakelists.txt

目前CLion只能识别CMake项目,所以为了使用CLion调试AOSP,需要编写CMakeList.txt。否则无法使用远程调试功能。
参考这篇博客Android Native C/C++ 使用CLion阅读/编译技巧

直接下载此地址的配置文件android-cmake-project,并拷贝至Android源码根目录。

配置env_android.cmake文件,我的配置如下:

1
2
3
4
5
6
7
8
9
10
11
12

set(ANDROID_SDK_VERSION 27)
set(ANDROID_LUNCH sailfish) # 编译目标
set(ANDROID_TARGET_ARCH arm64)
#set(ANDROID_ABI "armeabi-v7a")
#set(ANDROID_ABI "armeabi-v7a with NEON")
set(ANDROID_ABI "arm64-v8a")
set(ANDROID_TOOLCHAIN_NAME "clang")
set(ANDROID_STL c++_static)
set(ANDROID_CLANG_VERSION "clang-4053586")
#set(ANDROID_PLATFORM android-25)
#set(ANDROID_NATIVE_API_LEVEL 25)

二、 导入Aosp项目,配置远程调试

导入aosp需要等待index完成。

1. 配置gdb远程调试环境

选择 Edit Configurations -> GDB Remote Debug 按照下图进行配置:
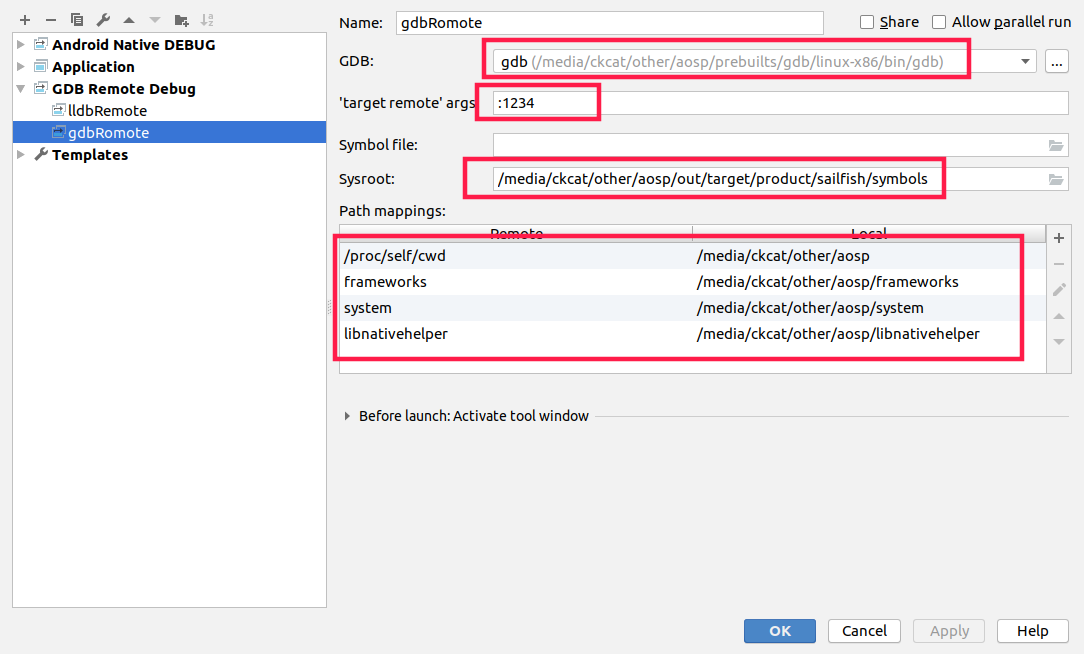
1
2
3
4
GDB: 这里我配置的为源码目录下的gdb
‘target remote’ args: 这里填的端口号
Sysroot: 这里填源码路径下的symbols
Path mappings: 根据自己的源码填相应的path

2. 编写android_gdbserver脚本

这里我对原博中的脚本做了一点小修改,将 gdbserver 改为了 gdbserver64 。原因是后面调试时使用gdb连接不上远程的gdbserver,报错信息为Reply contains invalid hex digit 59,然后改为gdbserver64就可以了。猜测与init为64位程序有关。

-s ~/script/start_android_gdb_server.sh

1
2
3
4
5
6
7
8
9
10
11
12
13
14
15
16
17
18
19
20
21
22
23
24
25
26
27
#!/usr/bin/env bash
gdbServerPid=`adb shell ps | grep gdbserver | awk '{print $2}'`

if [[ "" != ${gdbServerPid} ]]; then
adb shell su -c "kill ${gdbServerPid}"
fi

adb forward tcp:1234 tcp:1234

if [[ `adb shell whoami` == 'root' ]]; then
is_root=true
fi

if [[ -n $1 ]]; then
appPid=`adb shell ps | grep ${1} | awk '{print $2}'`
if [[ -n ${appPid} ]]; then
if [[ $is_root == true ]]; then
adb shell gdbserver64 :1234 --attach ${appPid}
else
adb shell su -c "gdbserver64 :1234 --attach ${appPid} "
fi
else
echo "$1 进程没有启动!"
fi
else
echo "请设置要调试的进程名(app的进程名是包名)。例如 $0 <process name>"
fi

通过软连接连接到 ~/bin目录下

1
ln -s ~/script/start_android_gdb_server.sh ~/bin/android_gdb_server

3. 调试

这里通过调试zygote来演示如何使用CLion调试

  1. 先停止zygote服务

    1
    adb shell stop zygote
  2. 启动gdbserver

  1. 点击调试按钮(右边绿色按钮)

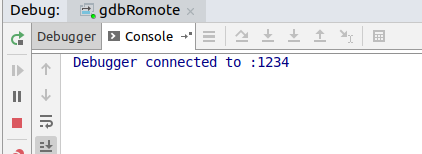
如下图表示连接成功

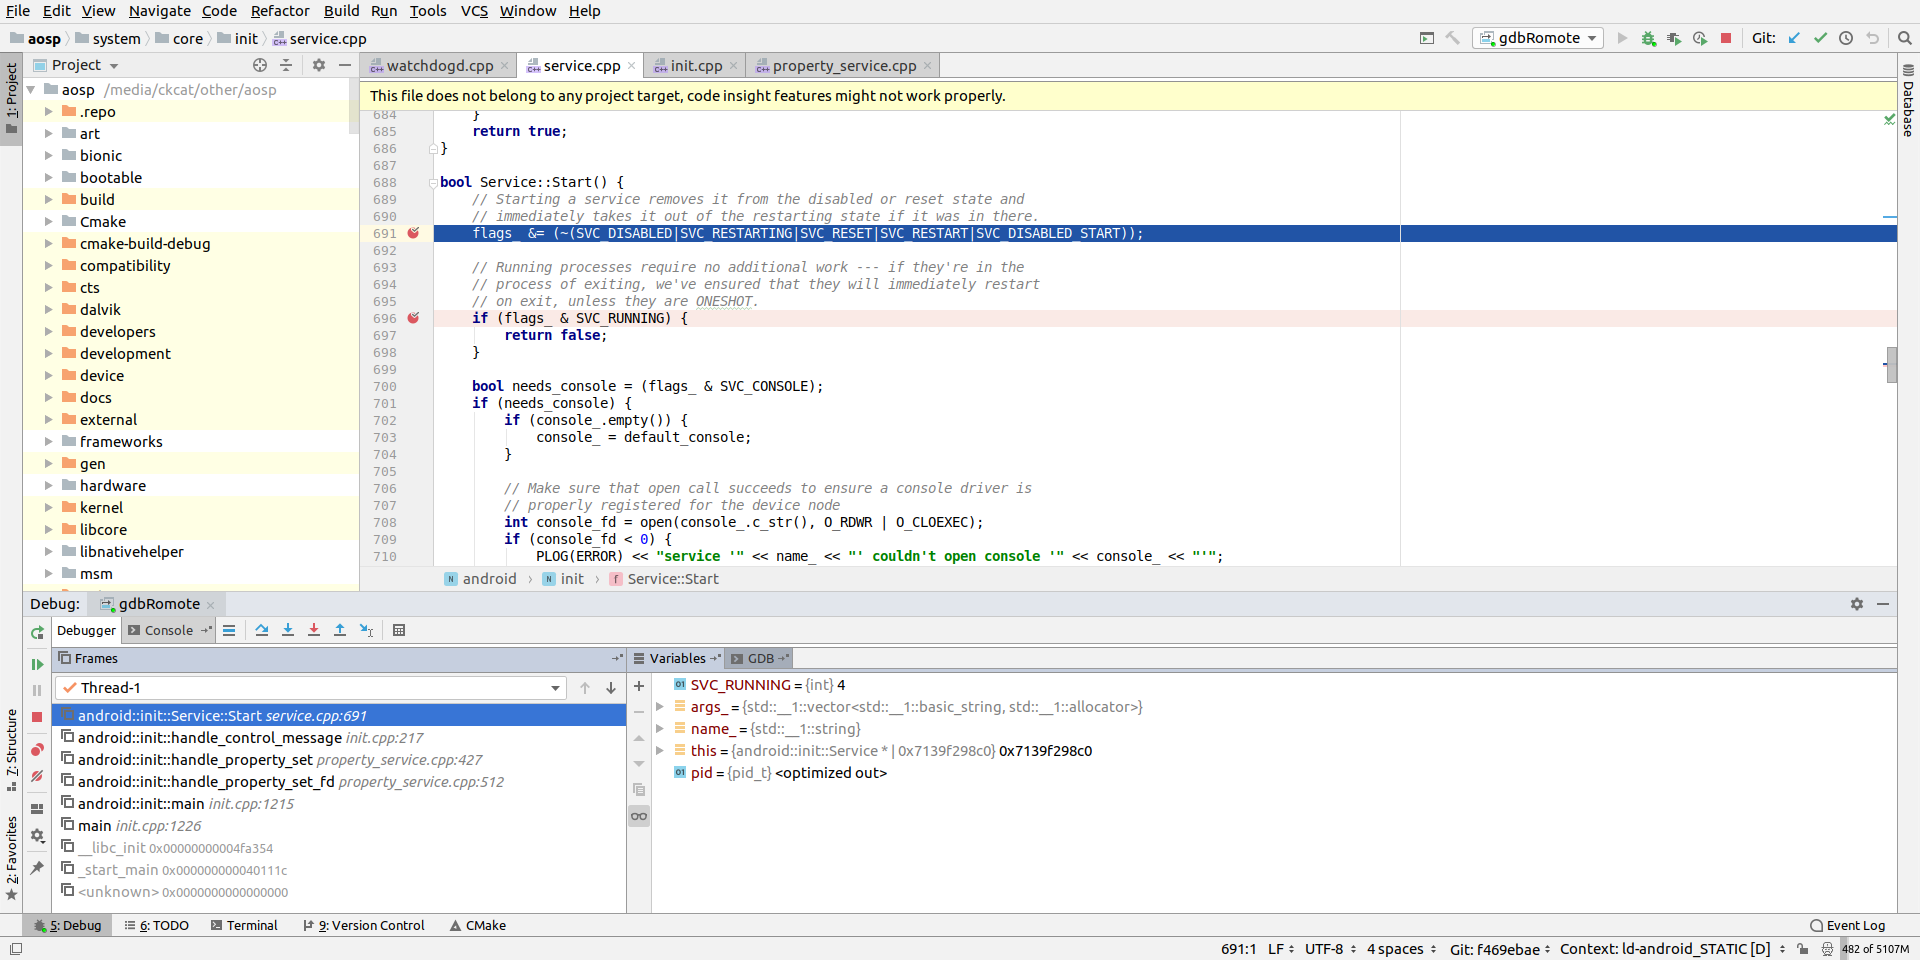
  1. 设置断点位置如下
    system/core/init/service.cpp

    1
    2
    3
    4
    5
    6
    7
    8
    9
    10
    11
    12
    13
    bool Service::Start() {
    // Starting a service removes it from the disabled or reset state and
    // immediately takes it out of the restarting state if it was in there.
    flags_ &= (~(SVC_DISABLED|SVC_RESTARTING|SVC_RESET|SVC_RESTART|SVC_DISABLED_START));

    // Running processes require no additional work --- if they're in the
    // process of exiting, we've ensured that they will immediately restart
    // on exit, unless they are ONESHOT.
    if (flags_ & SVC_RUNNING) {//在这里断点
    return false;
    }
    ...
    }
  2. 启动zygote服务

    1
    adb shell start zygote
  3. 停止在断点处

参考:https://blog.csdn.net/lylwo317/article/details/86545130

三、其他

使用此链接的方法进行调试,记录以下使用过程,虽然未成功。

1. 打开调试

将下列内容添加至 aosp/build/core/binary.mk 中, 加了之后编译的系统暂时未感觉有什么不同。

1
2
3
4
5
6
7
8
9
10
11
12
13
14
15
16
17
18
19
20
21
22
23
24
25
26
27
28
29
......
# No one should ever use this flag. On GCC it's mere presence will disable all
# warnings, even those that are specified after it (contrary to typical warning
# flag behavior). This circumvents CFLAGS_NO_OVERRIDE from forcibly enabling the
# warnings that are *always* bugs.
my_illegal_flags := -w
my_cflags := $(filter-out $(my_illegal_flags),$(my_cflags))
my_cppflags := $(filter-out $(my_illegal_flags),$(my_cppflags))
my_conlyflags := $(filter-out $(my_illegal_flags),$(my_conlyflags))

#调试信息
ifndef LOCAL_IS_HOST_MODULE
lili_test_so := libsurfaceflinger libcutils liblog libbinder libutils \
libc++ libc libm libhardware libui libgui libpowermanager \
libvulkan libbacktrace libsync libnativeloader libbase libz \
gralloc.msm8974 libmemalloc hwcomposer.msm8974 liboverlay libhdmi \
libhardware_legacy libmedia libskia libvirtual libstdc++

ifneq (,$(filter $(LOCAL_MODULE), $(lili_test_so)))
my_cflags_no_override += -O0 -g3 -Wno-error
ifeq ($(my_clang),true)
my_cflags_no_override += -fno-limit-debug-info -glldb
else
my_cflags_no_override += -ggdb3
endif
endif
endif

$(LOCAL_INTERMEDIATE_TARGETS): PRIVATE_YACCFLAGS := $(LOCAL_YACCFLAGS)

2. 配置CMakeList,并导入源码

这个和之前的没有区别,略。

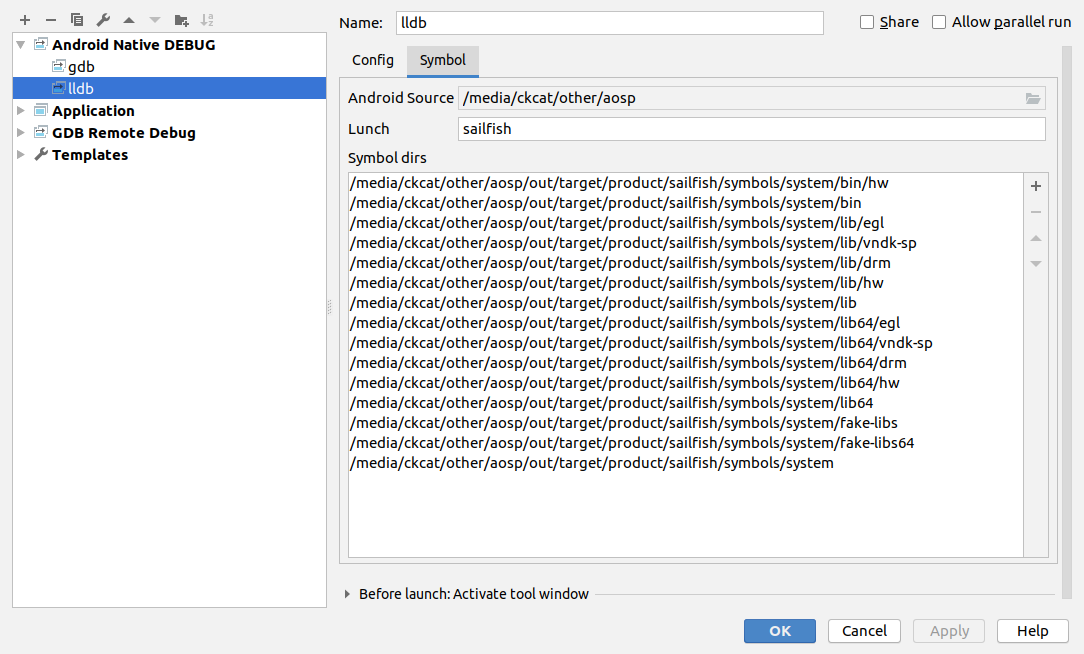
3. 安装AndroidNativeDebug插件,并配置
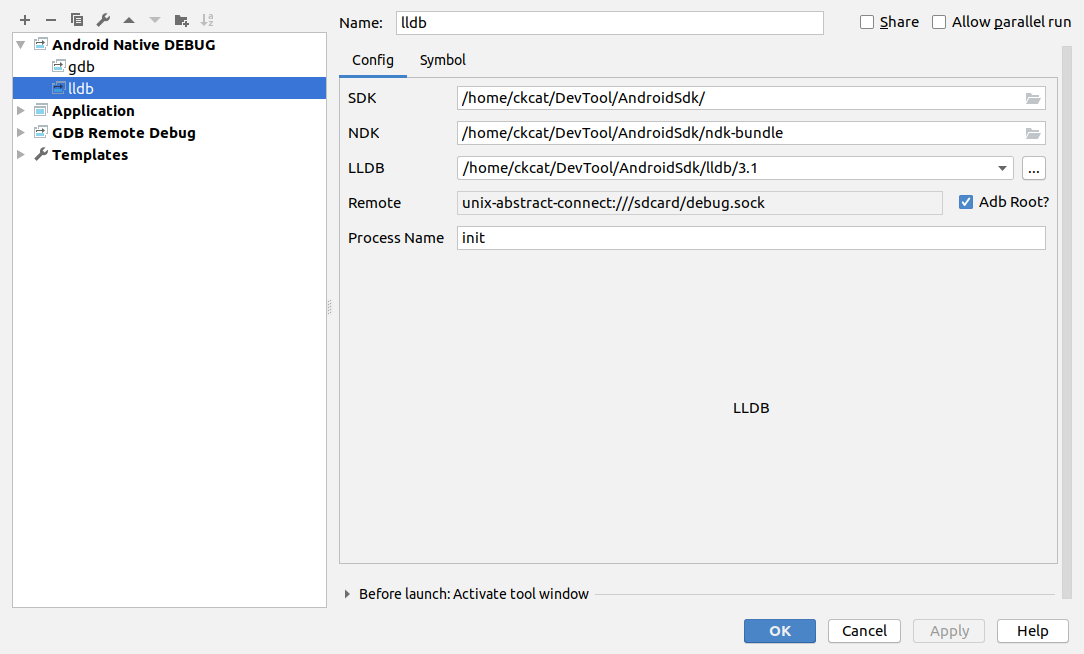
Name Description Default
SDK Android SDK Path none
NDK Android NDK Path (Auto gen when ndk-bundle exist in SDK) none
LLDB LLDB Path (Auto gen when lldb exist in SDK) none
Remote LLDB Target Remote unix-abstract-connect:///sdcard/debug.sock
Adb Root The adb can root? false
Process Name The name of debug process none
Name Description Default
Android Source Android Source Tree Path none
Lunch Android target lunch none

后续直接进行调试就可以了。

我这里遇到的问题,可以启动调试,但是断点无法段下来,后续有时间再研究。

参考:https://www.lili.kim/2019/01/28/android/Debug%20Android%20Native%20with%20LLDB/